I recently have been looking into options to make compost at home [relatively] quick and easy while still spending little to no money at all. Some of these items you may have lying around in your garage or outside in your yard. For me, I had to go out and spend less than $15 at my local hardware store to get started but this is an investment that I plan on using for a very long time.
Composting itself is the breakdown of organic materials over time by microorganisms. This combination of materials can later be used in your gardens or in my case, potted plant as both soil and fertilizer for your plants. There are two “types” of materials that go into your composting system, your “greens” and your “browns”. The “greens” refer to the materials that will be providing nitrogen to your compost and your “browns” are the materials that will be providing the carbon to your compost.
The key to the overall success of your compost is not only having both of these in your compost, but having the correct ratio of them along with the right amount of airflow and water. I recommend having a 2:1 of “browns” to “greens”. If you don’t want to think too hard about what that means (it took me a bit to figure it out myself) just start your system with “browns” and alternate back and forth with “greens”, making sure you end with the “browns” on top.
For context, I live in an apartment currently so all the systems that I am and will be putting into place have to be compatible for the space that I have. Here’s how I made my mini composting system. (with pictures)
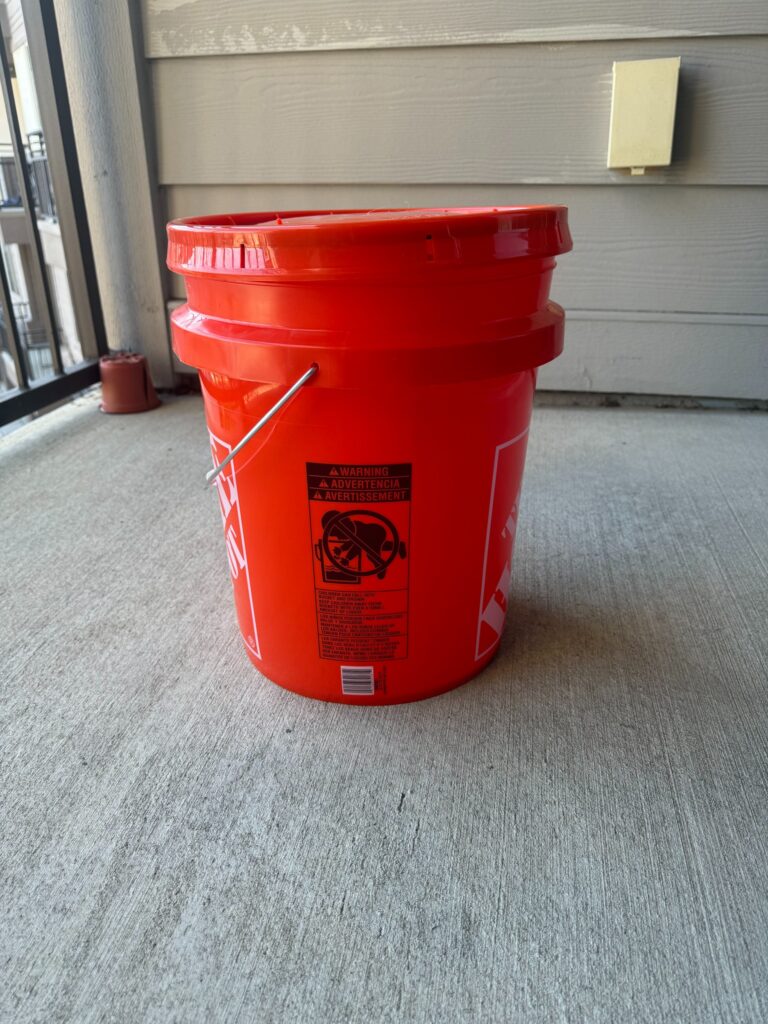
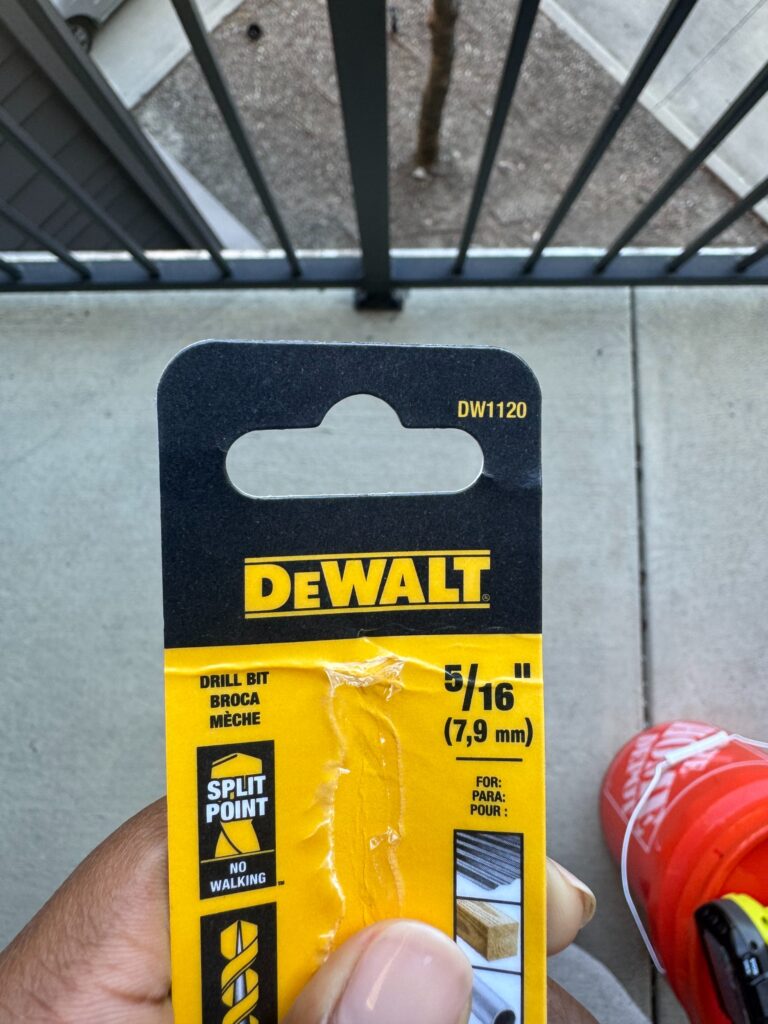
I first went out to my hardware store and got two 5 gallon buckets with the lids and a 5/16th drill bit. All of these items only cost me $15! I eventually will be making two composts but the one I will be showing you will be slightly different than the second one I will make.
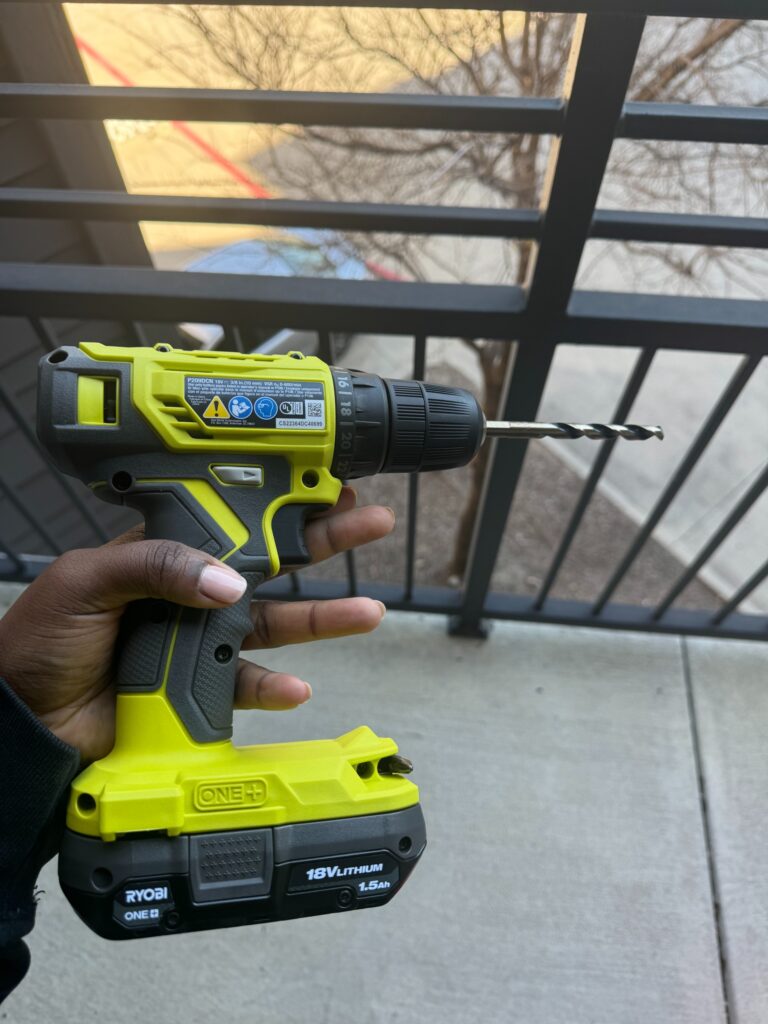
I then went underneath my sink and pulled out my drill that honestly has been sitting back there since I’ve moved in. I went outside and got to work.
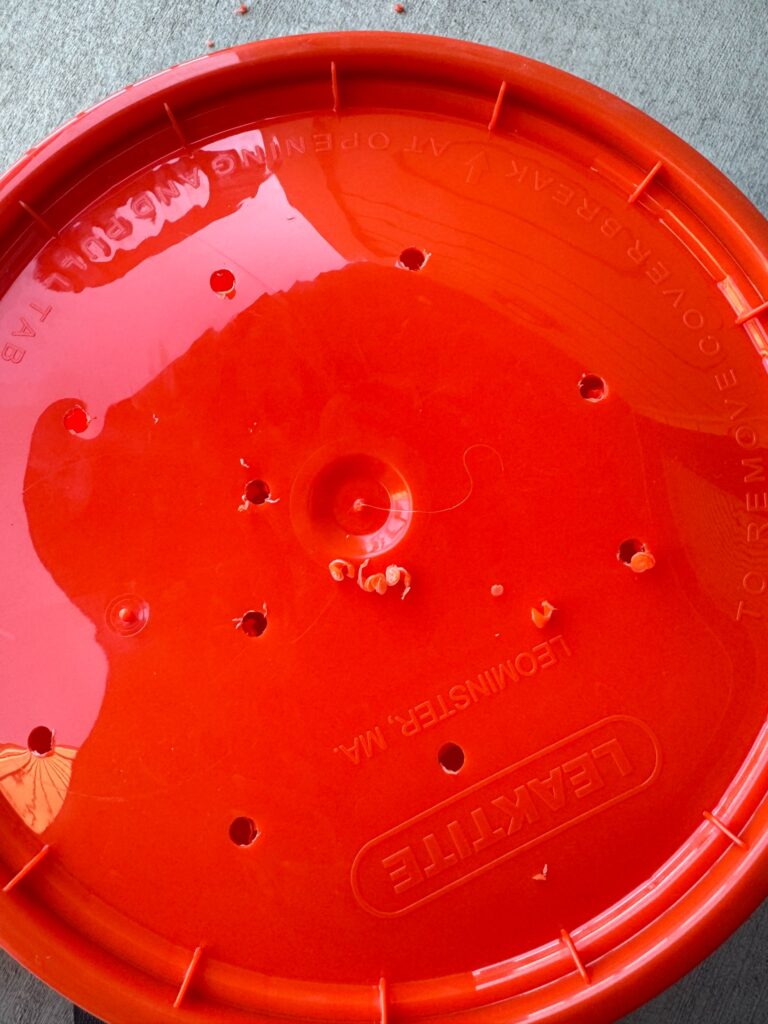
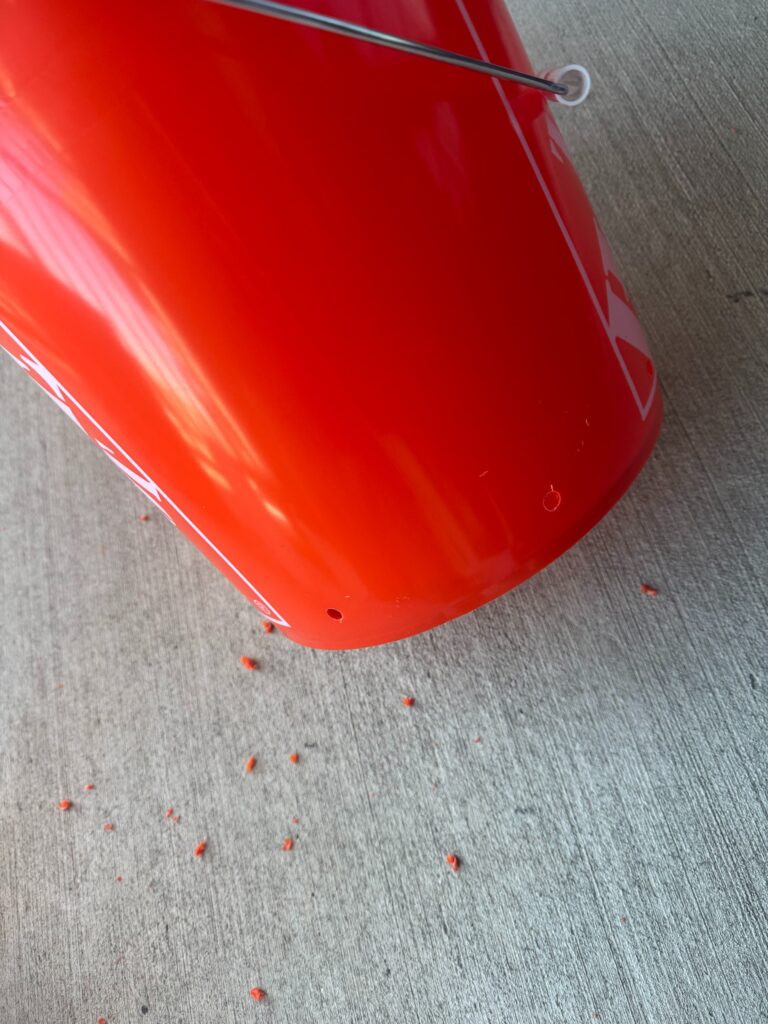
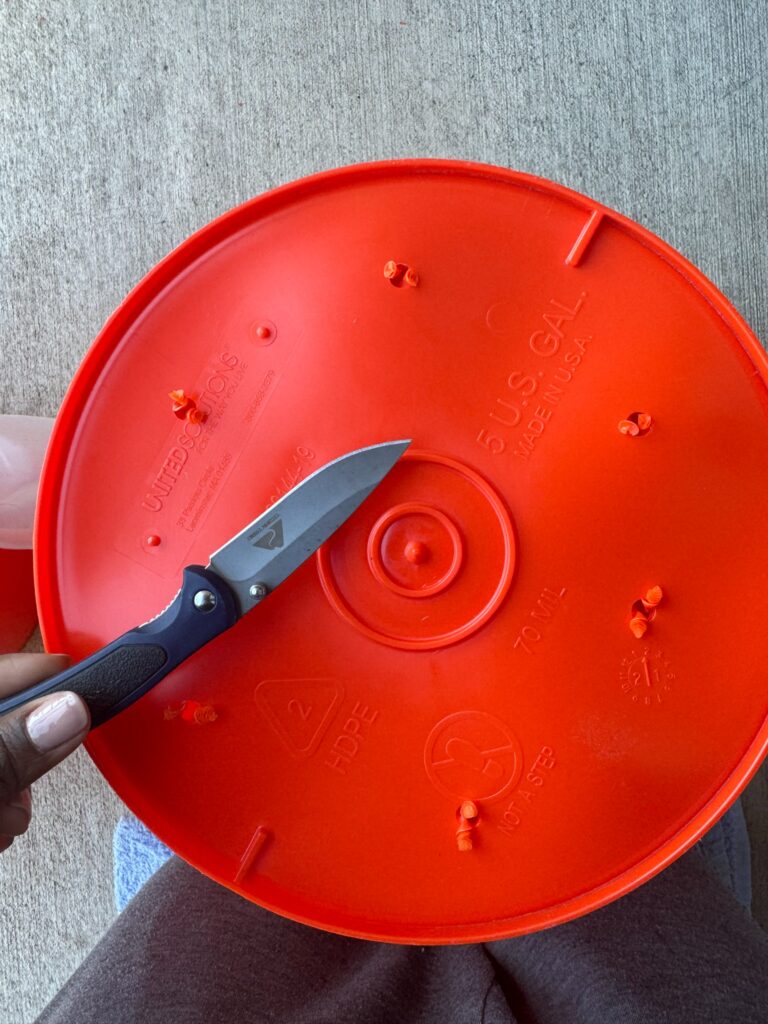
I drilled some holes in the lid, about an inch away from the bottom of the bucket and a few on the bottom of the bucket for airflow. Then used my pocket knife to remove those excess pieces of plastic because I don’t want any extra plastic making its way into my compost and down the line, my garden.
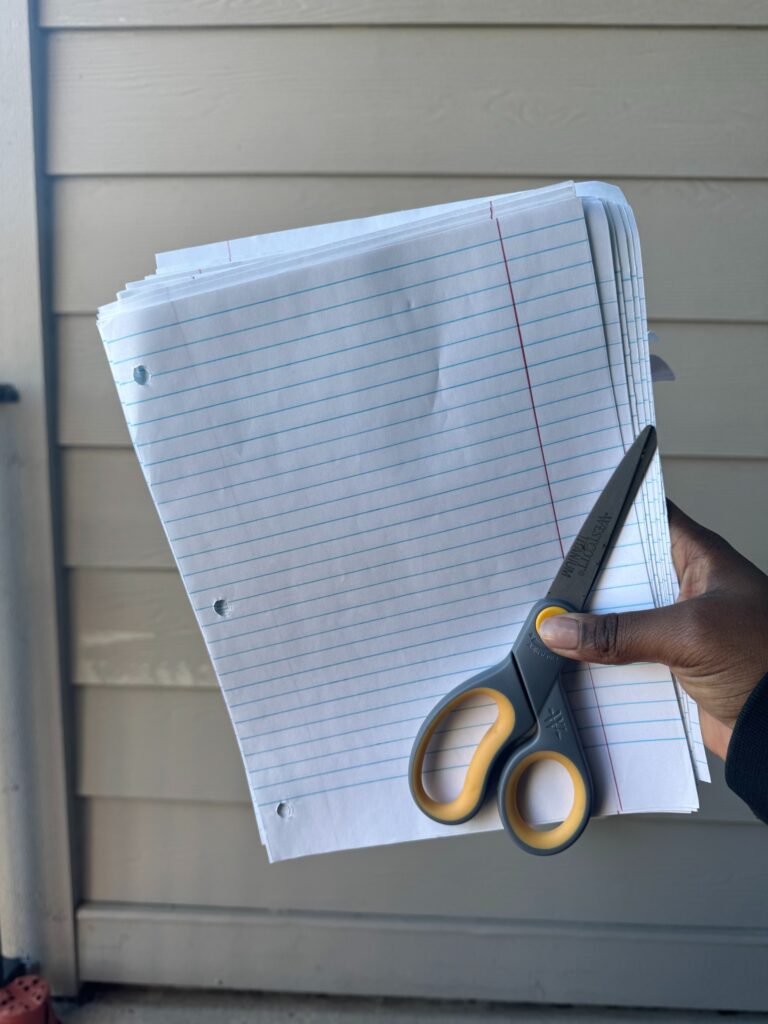
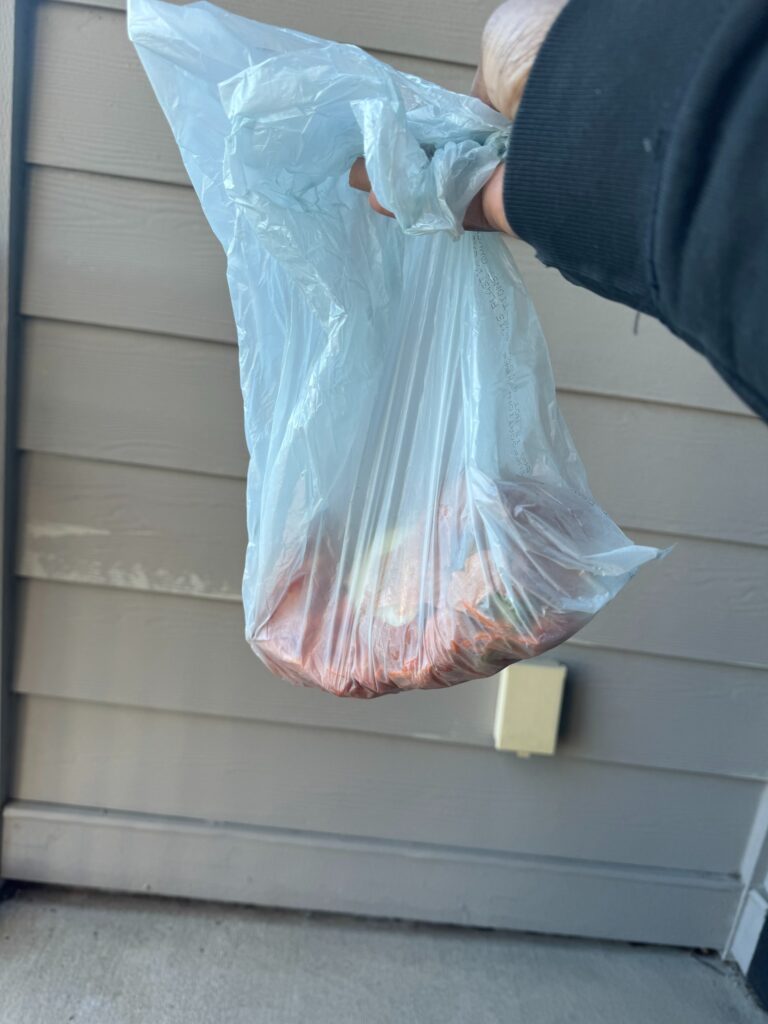
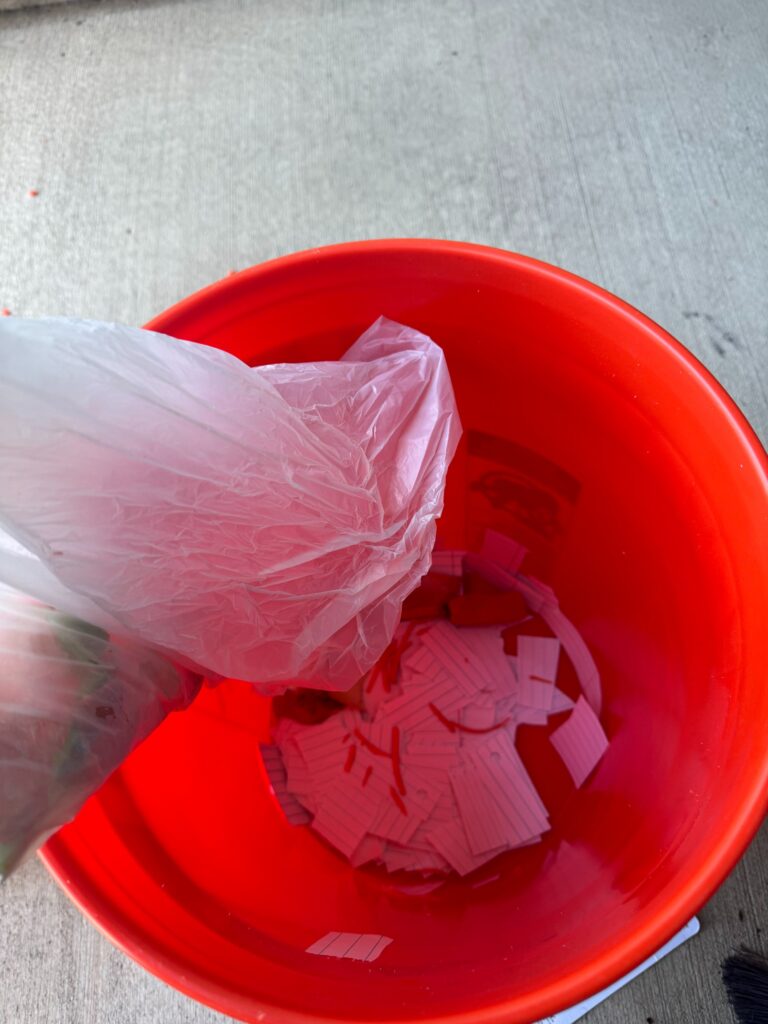
Following the 2:1 method I mentioned earlier, I used some old paper that I found cleaning out my room and cut that up first. I then placed my kitchen scraps on top of the paper. Then I finished off the whole thing by adding another layer of the paper. After that I added maybe a cup and a half of water to begin the decomposition process. (I later replaced the lid with holes with the one without, making the slight change to the second compost bucket, I will explain those changes in another post 😉 )
Now where I am currently, it is 20 degrees which is kind of not the best weather to start a compost but I had the scraps and the best time to do anything is now! Don’t worry, in the coming weeks it is going to heat up outside considerably and so will the bucket as the microorganisms begin to break down in there. While the organisms will do a great job on their own, in order to help out I will be “turning” my compost pile every week or so until I get to the desired consistency that I am looking for in my compost. In traditional compost making this would be a larger pile that I would turn with a pitchfork, but because we are in a bucket on my balcony I will just take the top bucket and shake it, or if it gets too heavy, rolling it around. This turning process allows for more airflow to get into the bucket which is one of the important components that we discussed earlier when it comes to compost creation.
Lastly, it is important to note that composting, like many other things that happen in the gardening world is a patience game. As much as you and I both would like to put our scraps and paper in our bucket and have it ready by the end of next week, that probably won’t be the case. Sooner or later I’ll talk about some ways the process can be sped up or slowed down depending on your timeline
For now though, I hope you have a basic understanding of how composting works and really how DIY friendly it is without having to break the bank!
And until next time, Plant with a Purpose! – BTR